Introduction
Build and host an installable paperlesspaper Open Integration with a manifest, optional settings UI, and a render page.
Work in Progress
This is currently a work in progress and subject to change. We welcome feedback!
Open Integrations
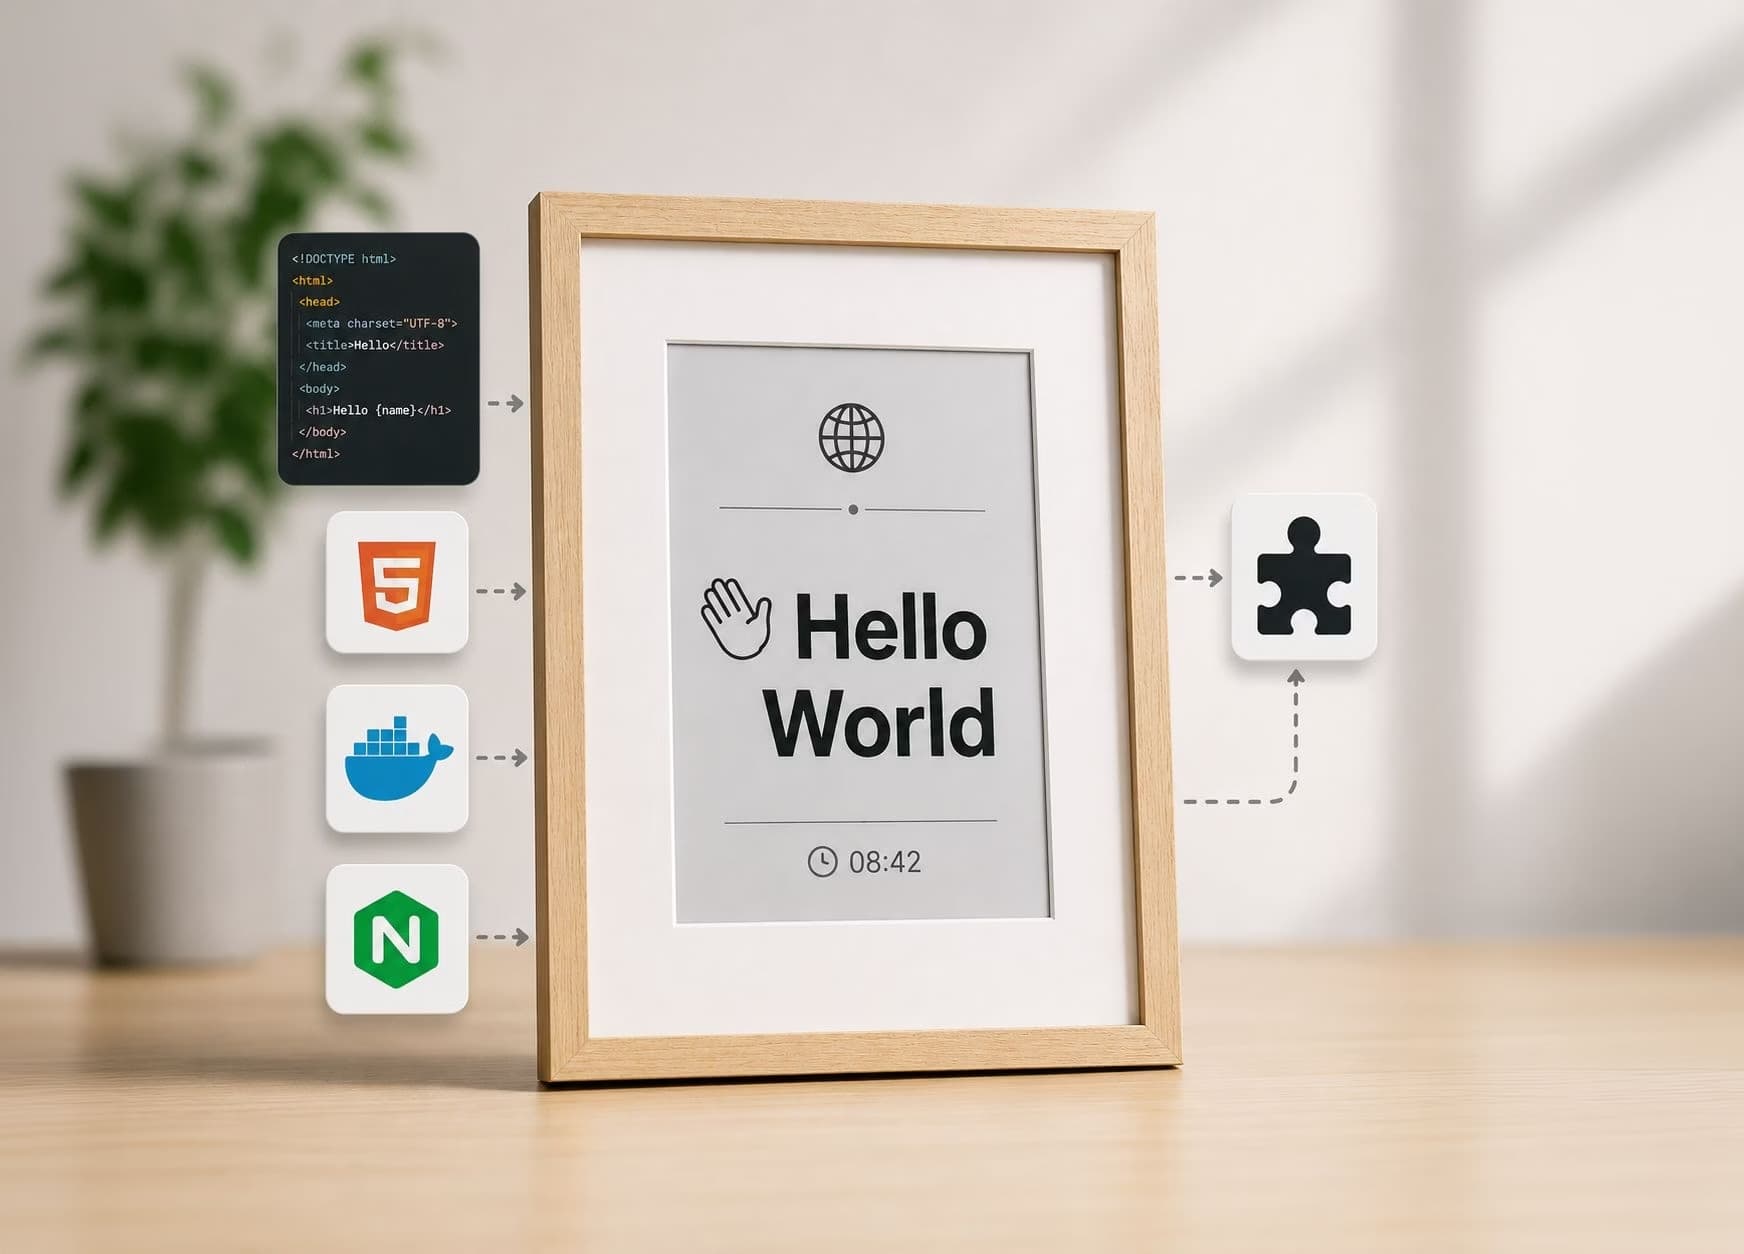
paperlesspaper supports installable Open Integrations hosted outside the main app. An integration provider is a small web app that exposes a manifest, a deterministic render page for screenshot generation, and optionally a settings page or API route.
What is it?
An Integration lets you ship custom content for the epaper display by providing a JSON manifest and a static render page. Most integrations are just HTML, CSS, and JavaScript. The optional @paperlesspaper/openintegration toolkit adds local preview, validation, rendering, shared CSS, and browser helpers without forcing a framework.
The host app installs your integration from a public config URL. After that it can:
- read your manifest
- show your settings UI in an iframe
- open your render page in a renderer and create the ePaper screenshot
- accept pushed text and images from a connected integration backend and send delivery status webhooks
Architecture
The contract is intentionally small. A provider exposes a few public files:
config.jsonor another manifest URL- a render page, usually
render.html - optional language JSON files
- optional assets such as icons
- an optional settings page
- optional server-side API routes
CORS and hosting
The paperlesspaper app fetches the manifest in the browser, so the manifest endpoint must be publicly reachable and return correct CORS headers.
Manifest requirements
The manifest contract, example payload, and CORS requirements are documented in Open Integration Manifest.
Render page
The render page is the screen that paperlesspaper screenshots for the device. It receives runtime data through window.postMessage, including configured settings and host metadata.
Supported payload you can expect:
{ type: "INIT", cmd: "message", data: payload }Typical payload shape:
{
  "id": "69efdf72d00c2701aff7eb47",
  "organization": "69a6d7a15aa7a5f58cffa2f7",
  "draft": false,
  "createdAt": "2026-04-27T22:13:06.061Z",
  "updatedAt": "2026-04-27T22:46:45.615Z",
  "imageUpdatedAt": "2026-04-27T22:46:45.569Z",
  "meta": {
    "pluginConfigUrl": "https://example.com/config.json",
    "pluginSettings": {
      "kind": "random",
      "difference": 999
    },
    "language": "de",
    "id": "7c1d07ef-6b11-4f4f-a254-e91a0ea8b954",
    "lut": "default",
    "orientation": "portrait",
    "frameKind": "epd7",
    "pluginManifest": {
      "name": "Daily XKCD",
      "version": "1.0.0",
      "description": "Displays the latest XKCD comic with optional random or time-shifted selection.",
      "nativeSettings": {
        "kind": "latest",
        "difference": 0
      },
      "formSchema": {
        "type": "object",
        "properties": {
          "kind": {
            "type": "string",
            "description": "Which comic to show.",
            "enum": ["latest", "random"],
            "default": "latest"
          },
          "difference": {
            "type": "integer",
            "description": "Show the comic from N days ago (e.g. 356 for last year).",
            "minimum": 0,
            "maximum": 5000,
            "default": 0
          }
        }
      },
      "renderPage": "./render.html"
    }
  }
}
Especially note pluginSettings, which contains the configured settings. The host-selected language is delivered as payload.meta.language; the global color setting is delivered through payload.meta.pluginSettings.color when configured.
Testing the render page
You can test your render page by sending a postMessage from the browser console with the expected payload shape. This lets you iterate on the layout and loading behavior before installing the integration in the app.
The optional toolkit helpers provide waitForPayload(), getSettings(), loadLanguageJson(), markReady(), and layout helpers so static render pages do not need to hand-roll this wiring.
Designing for the render page
Your render page should behave like a deterministic display surface:
- render within
100vwby100vh - avoid interactive chrome that only makes sense in a browser
- wait for async data before marking the page as ready
- keep the layout stable so screenshots are predictable
Loading and screenshot timing
paperlesspaper also expects loading markers for reliable screenshot timing:
<div id="website-has-loading-element"></div>If you use the toolkit markReady() helper, it removes #website-has-loading-element and adds #website-has-loaded for you. If you do not use the helper, create the loading element immediately and only add #website-has-loaded when the page is ready for capture. This way the app will wait for your content to load instead of taking a screenshot too early.
Timeout
Currently the app waits up to 30 seconds for the page to load. If your page takes longer than that, the screenshot will be taken before your content is ready.
Advanced HTML settings page
If your integration needs a custom iframe UI, message-based settings updates, or an OAuth-style connection flow, continue with Open Integration Settings Pages.
Webhooks and event-driven content
Use Webhooks & content push when an external event should update a paper, such as a chat message or a home automation. Your backend connects through a short-lived grant, pushes text or images, and receives authenticated delivery status callbacks. The render page receives that source as payload.integrationContent and owns its layout.
Content belongs to the saved paper and is shared by all frames displaying it. The latest message replaces the previous source; device updates still depend on each frame's wake schedule. See Webhook & API reference for endpoints, states, retries, and troubleshooting.
Development approaches
The public repos show two practical approaches:
For a static HTML provider with a tiny serverless API route, continue with Minimal example.
For a local CLI workflow, shared render helpers, and the examples-provider scripts, continue with Open Integration Toolkit.
Choosing the right level of complexity
Start with the smallest working provider:
- use
formSchemaonly when plain fields are enough - add
settingsPagewhen you need custom UI, previews, or auth flows - add server routes only when the render page cannot call the upstream service directly
- use language JSON files when display copy should follow the host language
- use
configVariantsand screenshots when a catalog or demo page should show known-good states
That is the pattern the public paperlesspaper examples already follow: keep the install contract stable, and move complexity into your own provider only when the use case needs it.
Example projects
Core and toolkit repositories:
paperlesspaper/openintegrationpaperlesspaper-apps@paperlesspaper/openintegrationon npmepdoptimizeepdoptimizeon npm- Hosted Quote demo
paperlesspaper/paperlesspaper-apps
58
paperlesspaper/openintegration-helloworld
1
paperlesspaper/openintegration-xkcd
3
paperlesspaper/openintegration-github
2
paperlesspaper/openintegration-tankpreise
2