Manufacturing
Flash and Test
Flash the firmware, run the hardware test, and add the device label.
What you need
- deployment tablet
- USB hub and USB data cable
- Wi-Fi adapter
- relay flash cable
- label printer
Do not plug USB devices into the charging-only port on the hub.
First device
- Connect the label printer and switch it on.
- Connect the flash cable and one PCB.
- Put the PCB into boot mode:
- hold the small
Bootbutton - press the large
Resetbutton once - keep holding
Bootfor another second, then release it
- hold the small
- Open Firmware Deployment on the tablet. The serial ports should appear in the log.
- Check that the tablet's deployment Wi-Fi hotspot is active.
- Connect the PCB and display over USB-C.
- Choose the correct device model and start deployment.
- Wait for flashing and the hardware test to finish.
- Put the printed label on the PCB.
- Disconnect the device.
The next devices normally start flashing as soon as they are connected.
Quick check
- the selected model matches the display and PCB
- flashing finishes without an error
- the test image is complete and correctly rotated
- colors and refresh work
- USB-C, buttons, and battery power work
- the label belongs to this device
Check the model before flashing
It is possible to flash the wrong firmware onto a similar-looking board. A successful flash alone does not mean the device is correct.
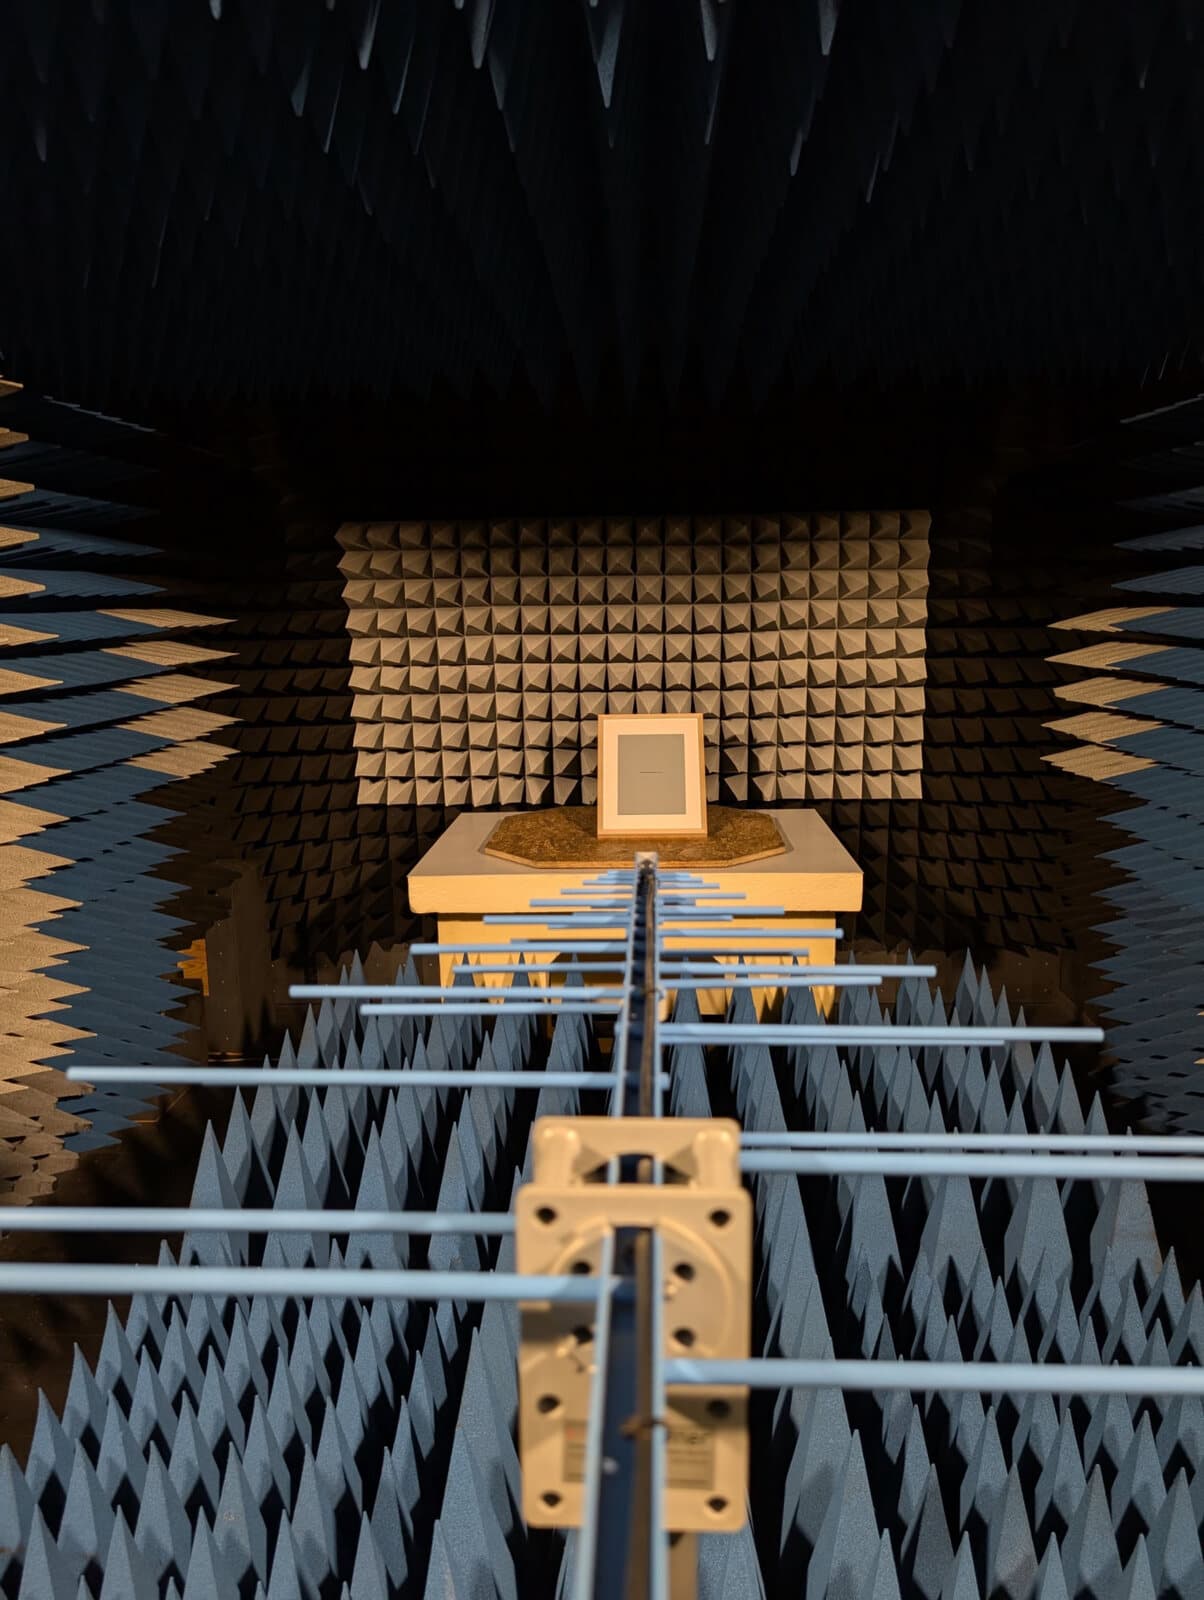
EMC / EMV test
All our devices are lab tested for EMV and EMC compliance for CE marking.