Testbench
Test OpenPaper with a Raspberry Pi, webcam, remote controls, and serial logs.
The OpenPaper testbench makes it possible to observe and test a frame without being next to it. A Raspberry Pi provides a live camera view, power control, and firmware logs through a local touchscreen or a password-protected browser dashboard. An HTTP API supports automated tests.
Setup
The setup consists of a Raspberry Pi with a touchscreen, a USB webcam, a USB relay, and a USB data connection to the OpenPaper frame. Use a stable power supply and a fixed camera position with consistent lighting.
- Webcam: points at the e-paper display to capture the actual image.
- USB relay: switches the frame's power circuit.
- USB data cable: carries firmware serial logs separately from the relay connection.
The application runs on Balena, which manages installation and updates. Its source and detailed setup instructions are in tools/openpaper-testbench in the paperlesspaper-web repository. Display configuration and relay wiring depend on the hardware used.
Using the testbench
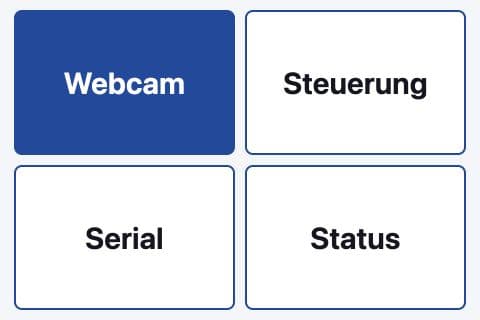
The touchscreen has four large buttons: Webcam, Steuerung (control), Serial, and Status. Each opens a detail page with a Back button.
The browser dashboard provides the same functions with additional controls:
| Function | What it does |
|---|---|
| Camera | View the live image, save photos, and adjust supported camera settings. |
| Image comparison | Compare the display with a saved reference image. Keep the camera and lighting unchanged, and wait for the display refresh to finish. |
| Night capture | Average several frames to reduce noise in a dark, static scene. This is not a single long exposure. |
| Power | Switch the frame's supply and send power-pulse sequences. |
| Serial | Read, filter, and download firmware logs. |
| Status | Check connected hardware and basic Pi diagnostics. |
The relay controls power, not the rear button. A successful command does not confirm a reboot; check the display and fresh serial output. The six-pulse reset sequence may erase Wi-Fi and activation settings and requires explicit confirmation. Direct button control needs an additional isolated contact.
For remote use, open the testbench's HTTPS address and sign in with its password. The Pi must remain powered and connected to the internet. Download serial logs before restarting the service, as they are held in memory.
Automation
Scripts use the same functions through the testbench's HTTP API, authenticated with a separate bearer token. Common endpoints include:
| Endpoint | Purpose |
|---|---|
GET /api/status | Read hardware status. |
POST /api/photos | Capture a photo. |
POST /api/power | Turn frame power on or off. |
GET /api/serial | Read firmware logs. |
POST /api/analyze | Compare the image with the saved reference. |
Open /docs on your testbench for request formats and the full endpoint reference. This is a separate API from the paperlesspaper cloud API.